> Part 2
Back to Evo X Drivetrain
Evo X Transmission Cooler DIY Baffle, Part 1: Modifying OEM Baffle
I was having problems with the MR transmission overheating during hard driving at various race tracks. It seems in stock form, I can only drive ~5-10 laps before the infamous "transmission overheating, slow down" message appears. So, although it probably would be necessary to augment the stock transmission cooling system with another cooler, such as the one from SSP, if I were to want to shift optimally, I was willing to compromise my shift points if simpler mods existed to cool the transmission enough. Without upgrading the stock transmission cooler, the only other alternative would be to force more air through the stock cooler. To do this, my solution is three part: first, delete the stock fog lamps, which block off almost 1/2 of the air inlet to the cooler using JDM OEM bezels and mesh. Second, modify the OEM transmission cooler baffle as I describe below. Third, modify the driver-side fender liner behind the transmission cooler by adding more holes for air to escape.
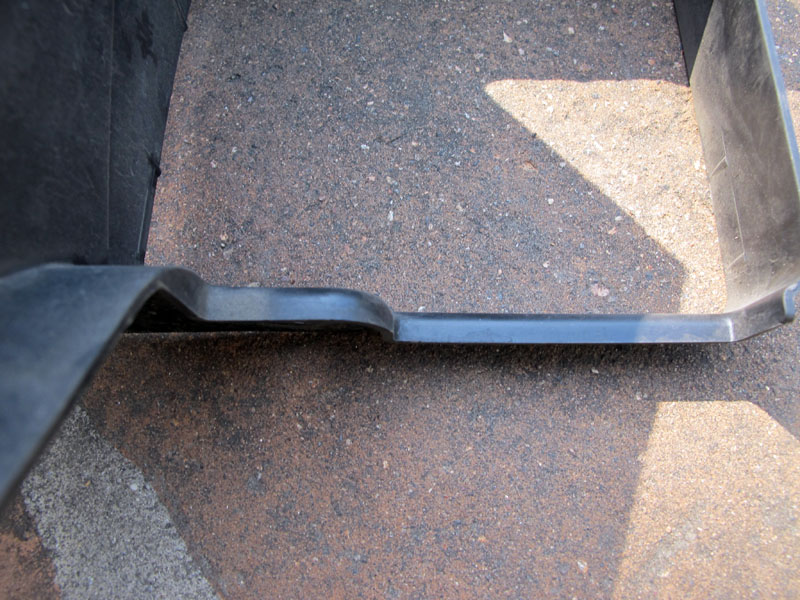
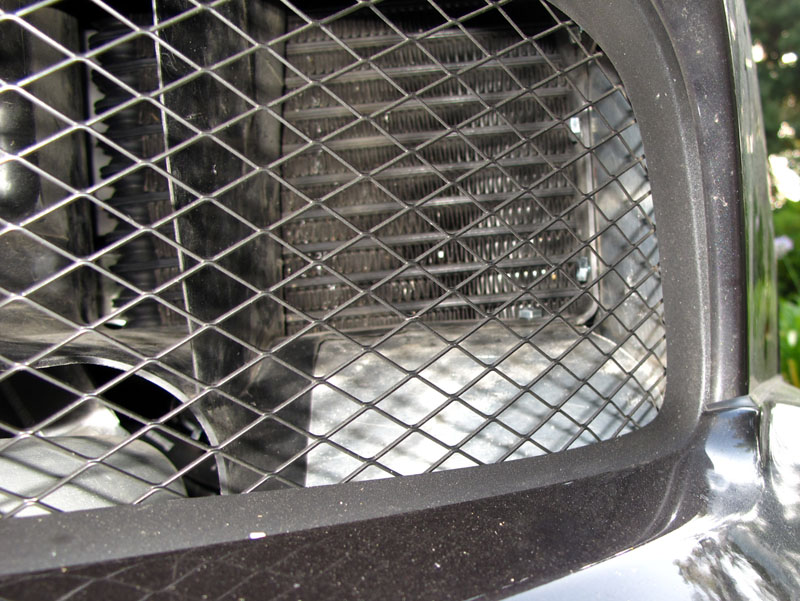
The OEM transmission cooler baffle was designed to be used with fog lamps installed, so it lacks a section to direct air from underneath and from the far side of the bumper as this space is normally occupied.
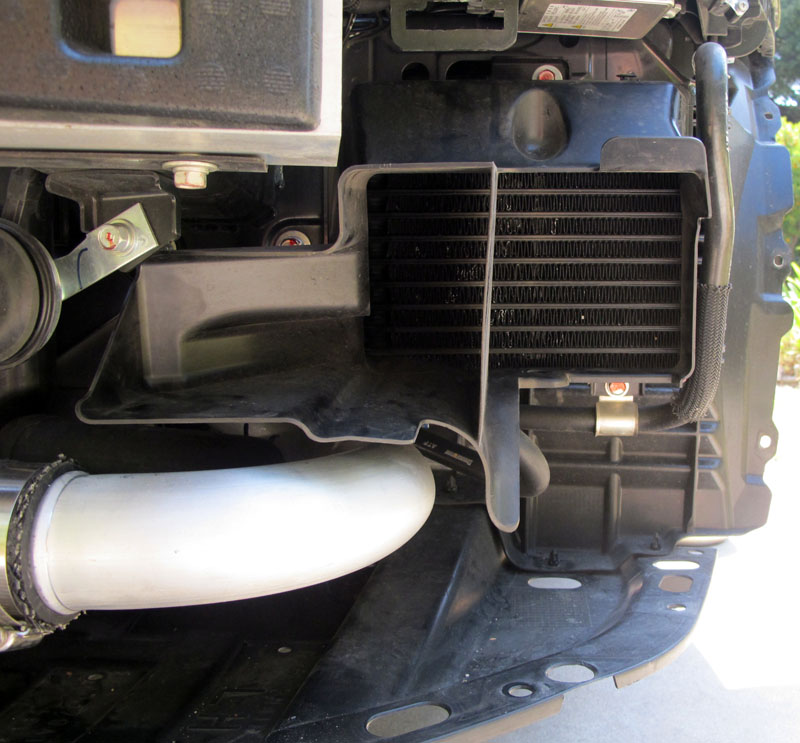 As you can see above, there is only an edge suggesting continuing the baffle to pick up air from underneath. So, to make the baffle more effective, I wanted to add more material to that edge, and also direct air from the far side as well, as the cooler is unfortunately positioned above and away from the bumper.
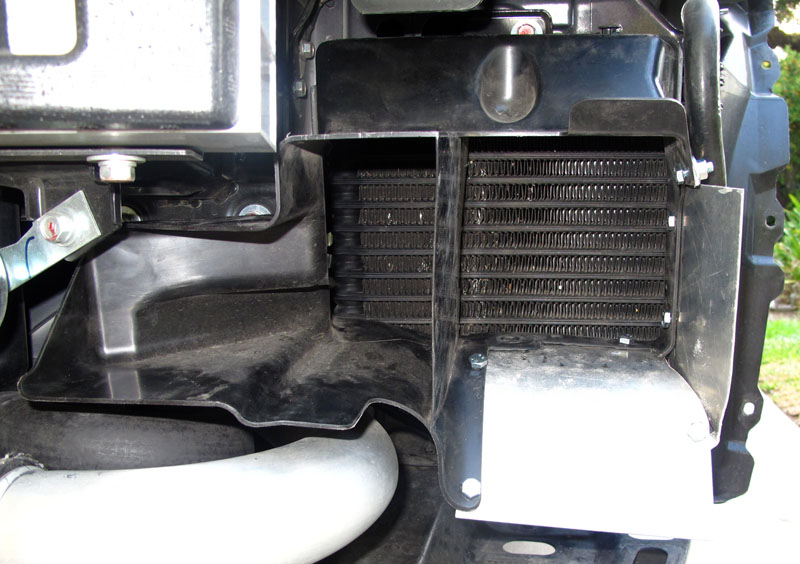
Though I will not modify the oil cooler baffle on the other side, here it is if you're curious. It appears effective enough to direct air, even with the fog lamps removed.
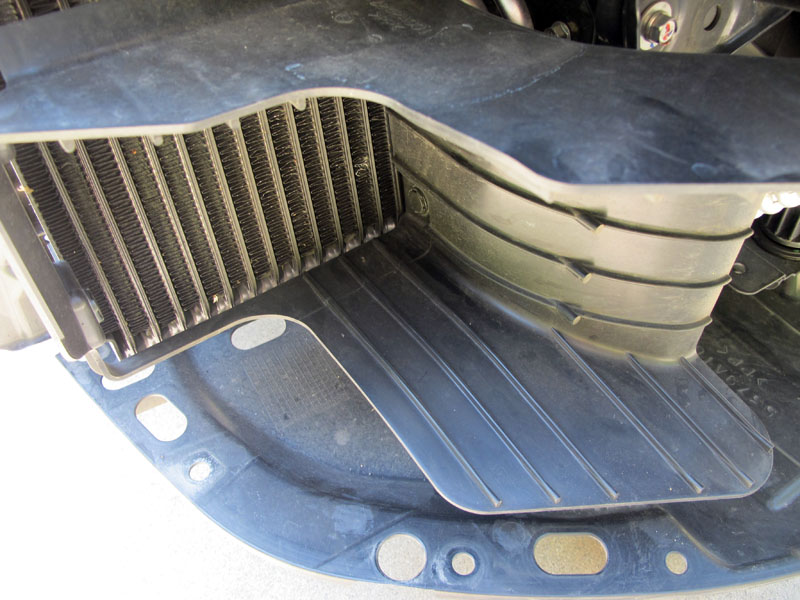 Perhaps in the future, engine oil cooling could be further improved by adding holes to the fender lining on that side, similar to what I will do for the transmission.
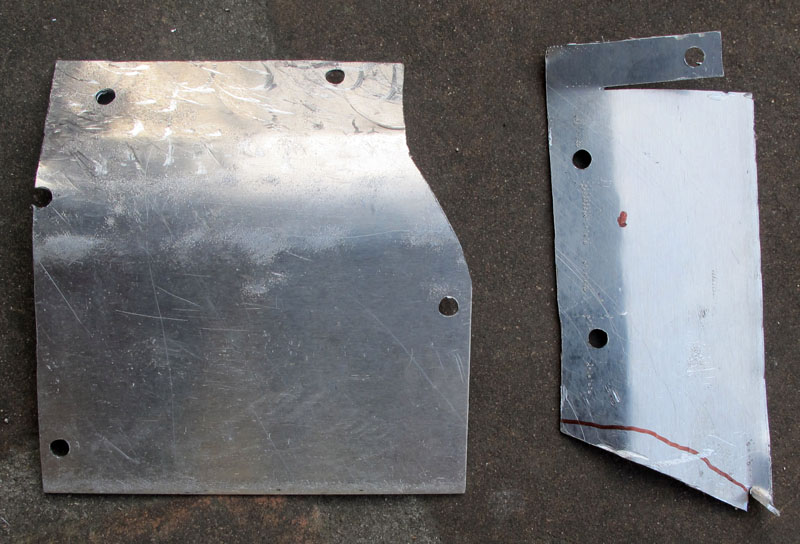
For the baffling, I used a scrap sheet of aluminum, ~1-2mm thick.
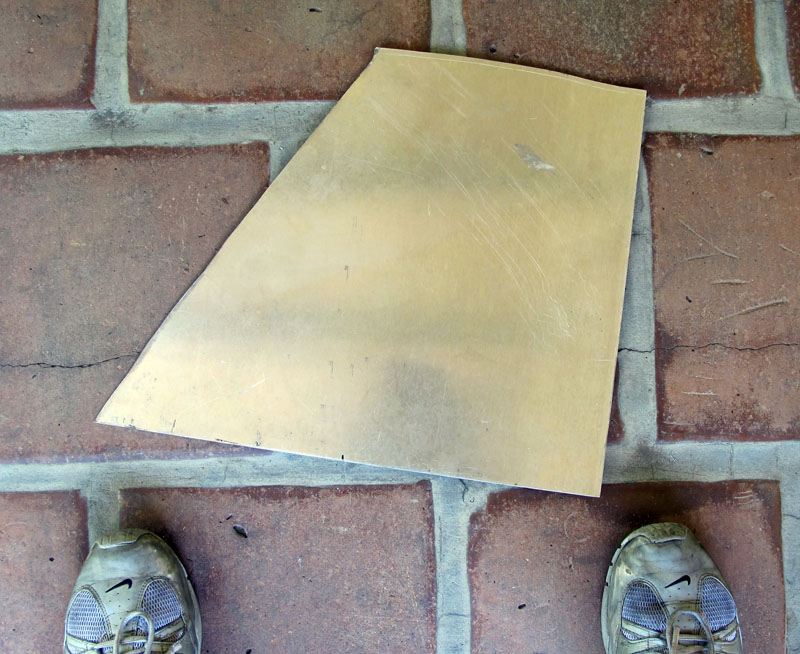
Cut out the bottom part of the baffle.
The OEM baffle has a lip on the bottom, so that will have to be shaved for the extension piece to fit flush.
 So, with the lip shaved off (using a dremel), I mocked the bottom extension to the baffle.
 Looks good!
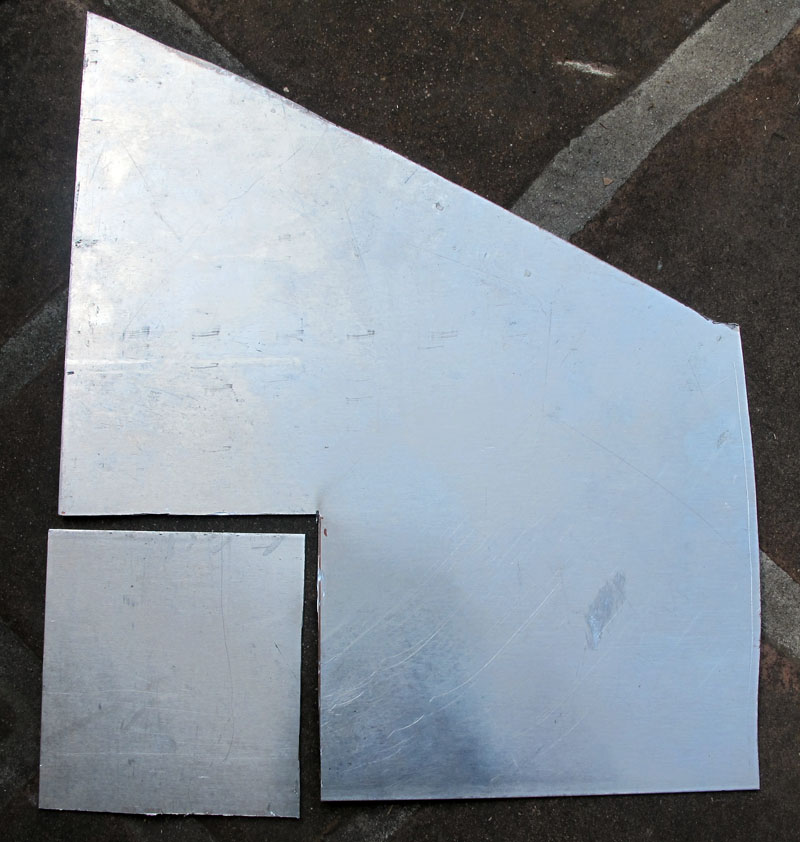
Next, to create the far side of the baffle, another piece was cut out of the aluminum and bent into shape.
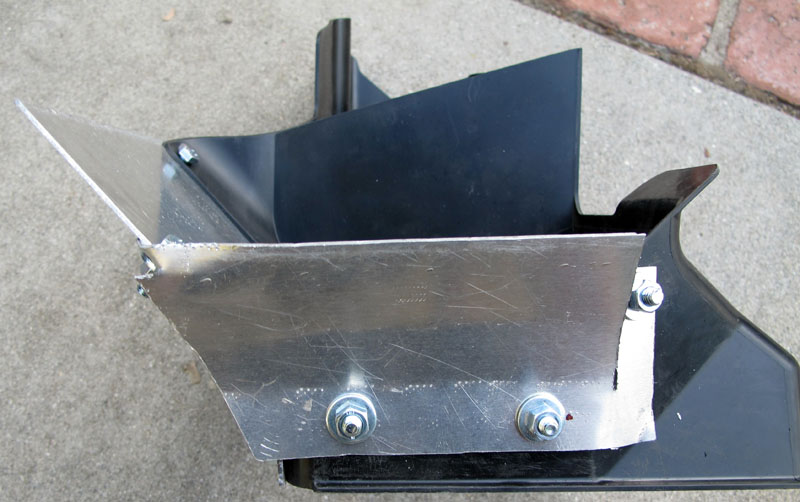 I cut a tab on the bottom of the side piece to fold around and bolt onto the bottom piece.
With the pieces cut and shaped, holes were drilled to secure the pieces and the stock baffle together. The result was then mocked up into place.
 Bumper fit well as well.
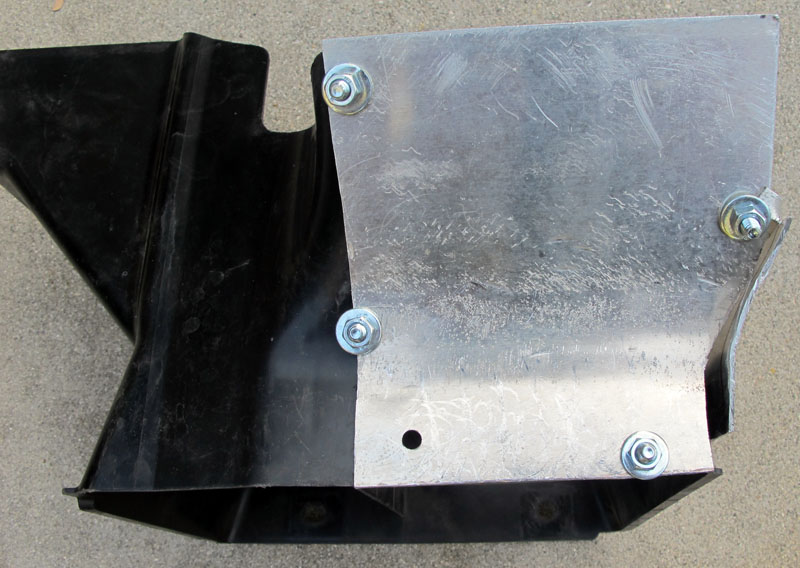
The final pieces cut and drilled.
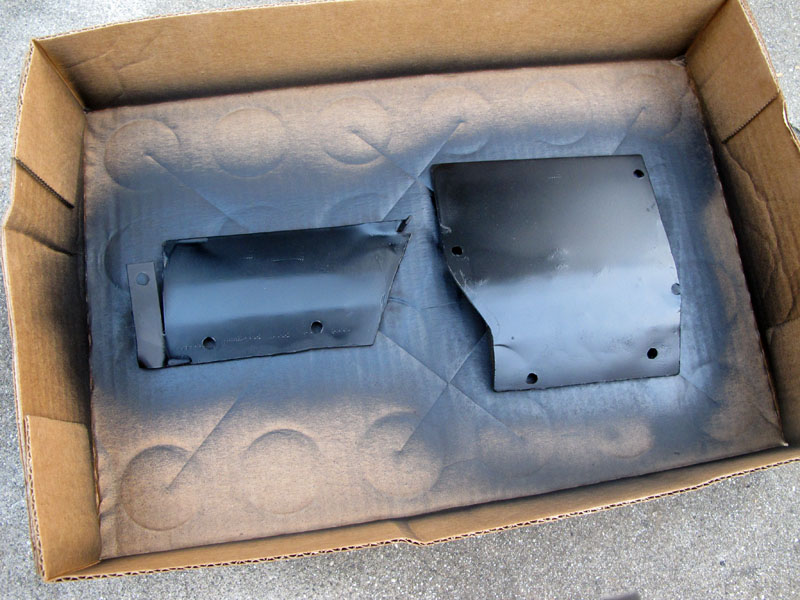
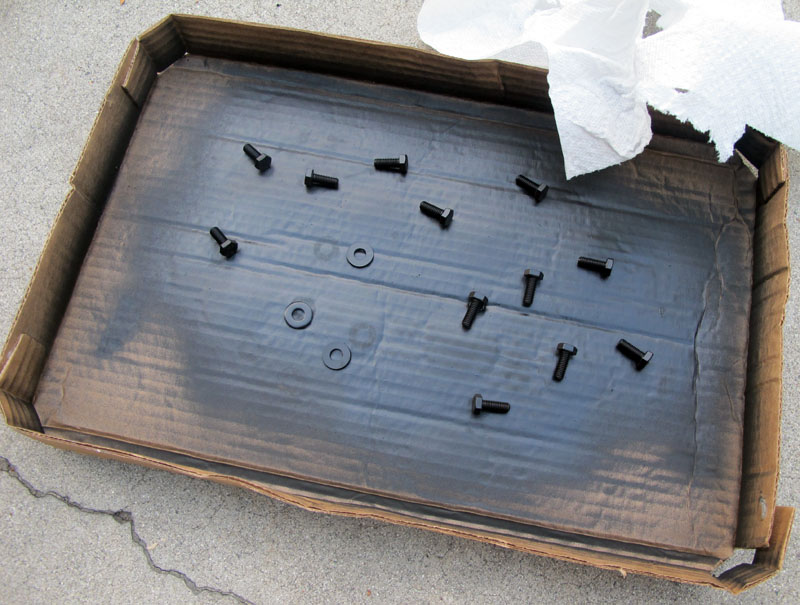
Painted the pieces and hardware with semi-glossy primer and paint to match the stock plastic baffle.
Next, while the paint is drying, the driver-side fender liner behind the transmission cooler is to be modified.